Blog Articles
Tag: how to paint

How to Paint Horses: 5 Acrylic Painting Tutorials to Master Equine Art
Discover 5 acrylic painting tutorials that demonstrate exactly how to paint horses in stunning detail. From realistic portraits to dynamic landscapes, master equine art with these step-by-step lessons
Continue Reading
No Comments
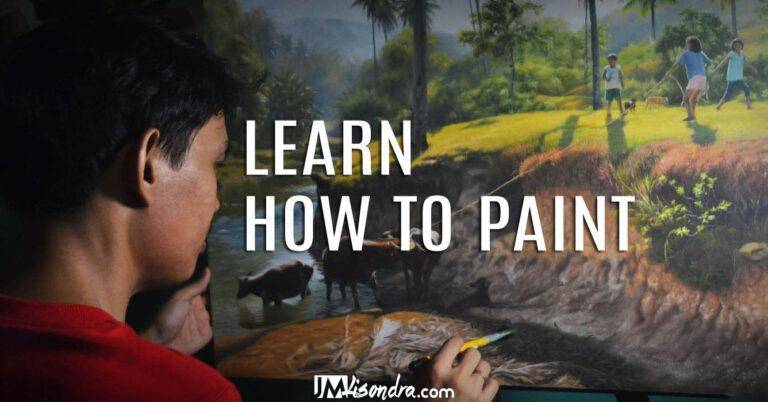
Do you want to learn on how to paint with acrylics? Your Beginner's Guide!
This comprehensive guide is designed for aspiring artists who want to learn how to paint with acrylics. It highlights why acrylics are an ideal medium for beginners, emphasizing their fast-drying nature, incredible versatility for various styles and textures, and easy cleanup. The article details essential supplies, including the difference between artist-grade and student-grade paints, a recommended starter palette, and a breakdown of common brush shapes and their uses.
Continue Reading
No Comments
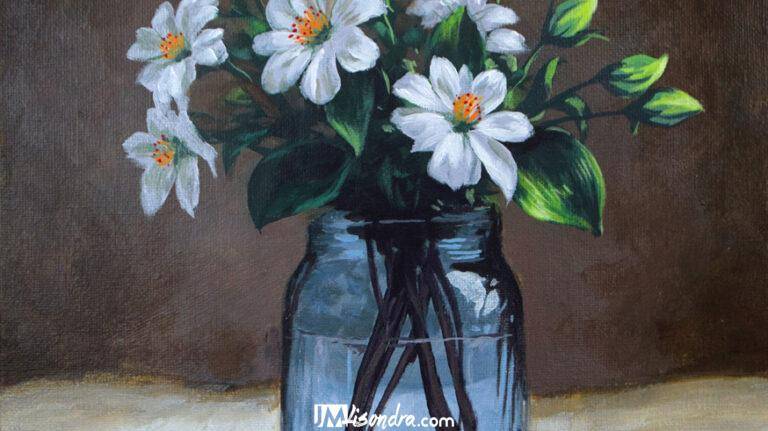
How to Paint Still-Life: Free Step-by-Step Acrylic Painting Tutorials for All Skill Levels
Are you passionate about capturing the beauty of everyday objects on canvas? Whether you're a beginner eager to explore the world of acrylic painting
Continue Reading
No Comments

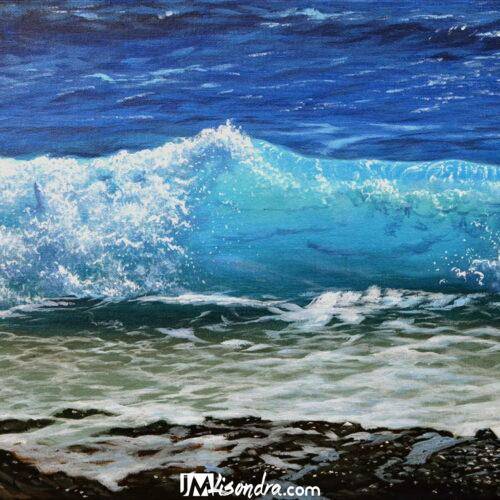
The Ultimate Guide to Painting Beaches and Crashing Waves
Welcome to our comprehensive collection of painting tutorials that will help you master the art of capturing the beauty of beaches and crashing waves.
Continue Reading
No Comments

Mastering Painting Waterfalls: A Tutorial Guide In Acrylics
Learn how to paint waterfalls in acrylics with this comprehensive step-by-step guide. Master color mixing, brushwork, and composition to create this landscapes
Continue Reading
No Comments
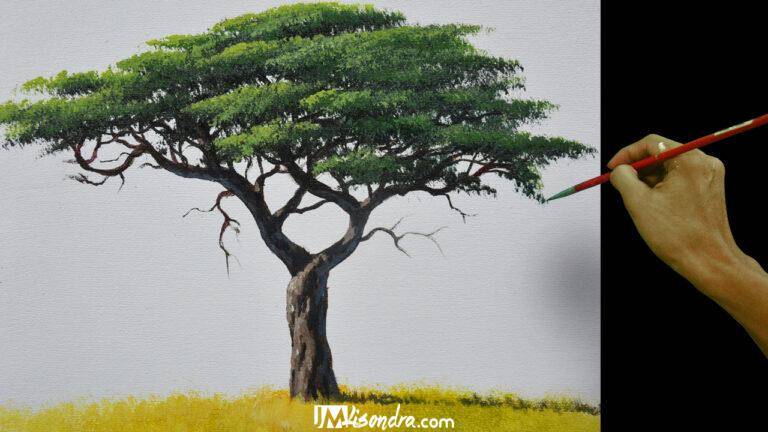
How To Paint A Tree In Acrylics: A Step-by-Step Process
Acrylics are a fast-drying, water-resistant medium that’s great for creating works of art that you can display almost anywhere.
Continue Reading
No Comments
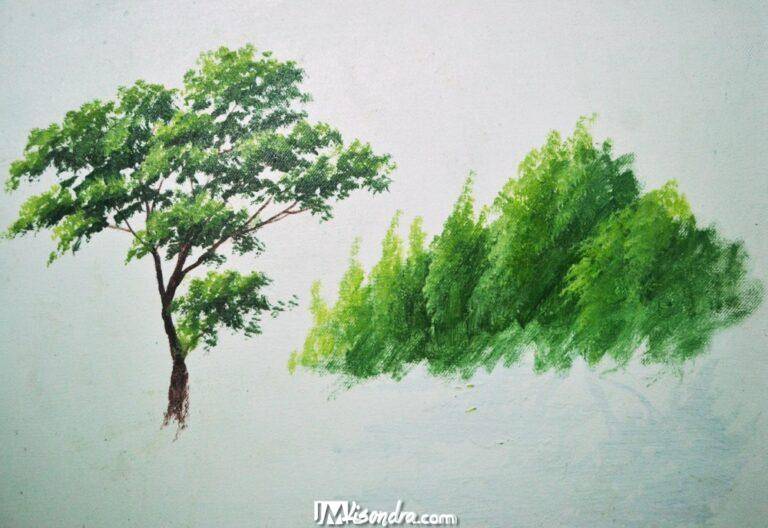
How To Paint Tree Leaves And Trees In Step By Step Instructions
One of the most tricky part in painting landscapes is the way on how to paint tree leaves and forest trees. The way on how to execute the strokes...
Continue Reading
No Comments
Categories
Featured Painting

About the Artist
John Magne Lisondra is a self-taught artist from Philippines and a graduate of BS Computer Science from NORSU-G last 2007, which is slightly a different course. He started painting...
Biography
X
Subscribe!
Newsletter
Youtube
Patreon
Newsletter Subscription
Subscribe to my Youtube Channel
Subscribe to my Youtube Channel and watch free painting tutorials every week
Visit and Subscribe to my ChannelPATREON Membership
Join and become my patron on Patreon.com. Watch and learn exclusive painting tutorials ranging from basic to advanced lessons. Monthly subscriptions ranging from $1 to $10.
Support Me by Joining my Patreon
Loading Contents...