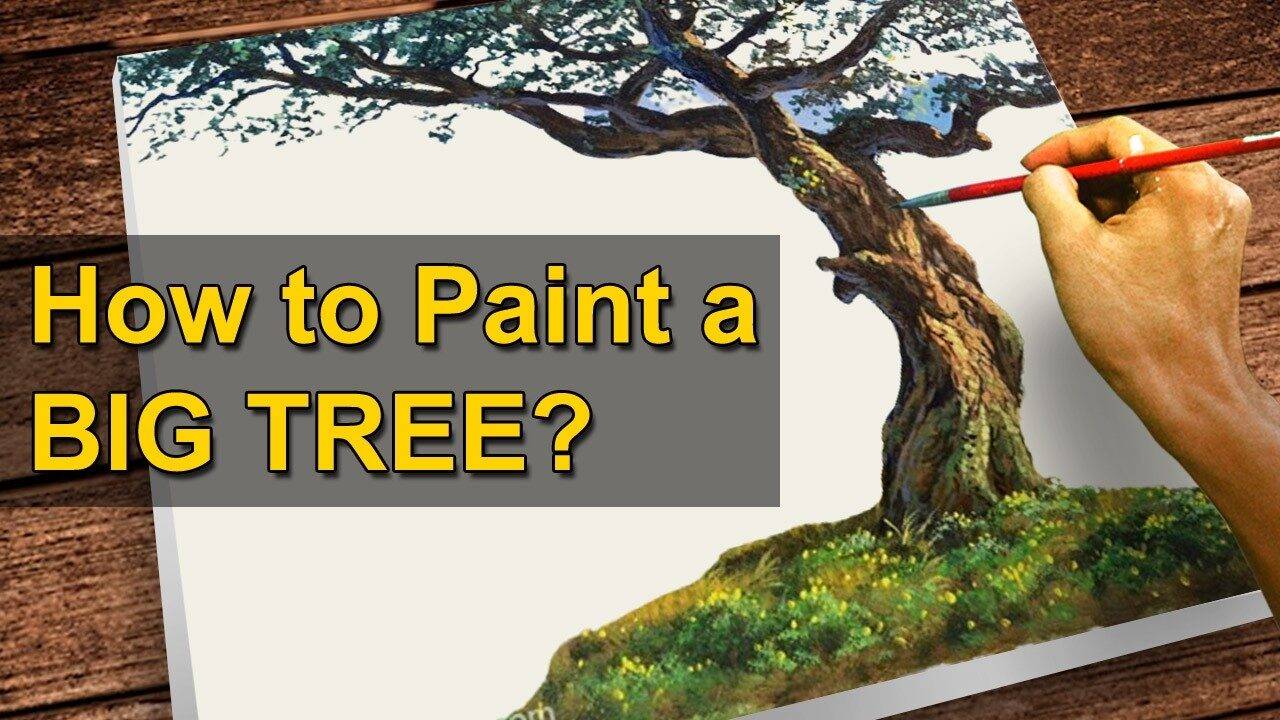
How to Paint a Big Tree in Acrylics – Step-by-Step Tutorial
Learn how to paint a big tree in acrylics with this easy step-by-step tutorial by JMLisondra. In this lesson, you’ll discover techniques for painting realistic tree trunks, branches, and foliage while capturing depth, light, and texture. Perfect for beginners and intermediate artists looking to improve their landscape painting skills.
🎨 What you’ll learn in this tutorial:
- How to sketch and block in the shape of a tree.
- Techniques for painting realistic bark and textures.
- How to paint branches with natural flow and movement.
- Layering leaves and foliage for depth and realism.
- Tips for adding highlights and shadows for a lifelike effect.
This acrylic painting tutorial is step-by-step, so you can follow along at your own pace and create a beautiful big tree painting of your own.
FULL TUTORIAL: https://youtu.be/R3LIG0gBTwc
Are you ready to transform your canvas with a breathtaking, realistic tree? In this step-by-step tutorial, we’ll delve into the techniques shared by artist John Magne Lisondra (JMLisondra) to teach you how to paint a big tree in acrylics, creating a stunning focal point that brings your landscape to life. This comprehensive acrylic tutorial is perfect for anyone looking to enhance their painting skills and learn how to paint with confidence. Don't be afraid to make mistakes; as JMLisondra himself advises, they are part of the learning process, and acrylics are forgiving enough to cover any missteps.
Materials You’ll Need for Your Acrylic Tutorial
Before we begin to paint a big tree, gather your supplies. The sources indicate that you'll need a limited palette of five colors, various brushes, and other necessary items.
Acrylic Paint Colors:
- Titanium white
- Phthalo Blue / Ultramarine Blue / Primary Blue
- Brilliant Red / Primary Red / Cadmium Red
- Medium Yellow / Primary Yellow
- Raw Umber / Burnt Umber / Burnt Sienna
Buy Acrylic Paints-https://www.amazon.com/shop/artofjohnmagnelisondra?listId=1YT4AOWM9Q1JQ
Brushes:
- Number 12 Nylon Flat Brush (Long Handle)
- Number 8 Nylon Flat Brush (Long Handle)
- Number 7 Nylon Flat Brush (Short Handle)
- Number 3 Nylon Flat Brush (Short Handle)
- Number 0 Nylon Liner Brush or Round Brush
- or No. 1, 00, 000 (Short Handle)
Buy Brushes-https://www.amazon.com/shop/artofjohnmagnelisondra?listId=1KM0N75JINIIV
Buy Canvas-https://www.amazon.com/shop/artofjohnmagnelisondra?listId=1V0Y42W9SBO90
Buy Easel-https://www.amazon.com/shop/artofjohnmagnelisondra?listId=2O3YWTUQNZTGI
Remember to relax, follow the instructions, and most importantly, "paint with your heart".
Step 1: Laying the Foundation – The Tree Trunk
The journey to paint a big tree begins with its core: the trunk. This tree will be a dominant feature, covering a significant portion of your background.

Screenshot Description: Imagine your canvas now. A large, robust, brown shape, somewhat irregular, starts to emerge on one side of the landscape, stretching upwards and beginning to cover the existing background.
How to Paint this Part:
- Placement and Size: Identify the area where your big tree will stand. It should be substantial, covering much of the background. You can paint the entire background first if you wish, but the tree will ultimately cover much of it anyway.
- Initial Application: Take your medium-sized flat brush number eight and load it with raw umber. Begin to apply this color on the chosen side of your landscape, forming the initial shape of the tree trunk. The instructor mentions having to cover a background that was previously done well, emphasizing that the tree will become the main focus.
- Building the Trunk: Start with a "huge stroke" for the trunk, then expand it further, making it "a little bigger" to ensure it looks substantial. The goal is to create a beautiful, realistic tree trunk, so don't be afraid to make it massive.
This initial layer is just the beginning. The acrylic nature of the paint allows for corrections, so embrace any "mistakes" as opportunities for learning.
Step 2: Developing Branches and Dark Tones
With the main trunk established, it's time to extend its reach by adding branches and defining the darker areas of the tree.

Screenshot Description: From the solid brown mass of the trunk, several thinner, darker lines branch out, starting to define the tree's skeletal structure. Some areas within the main trunk also appear darker, hinting at depth and shadow.
How to Paint this Part:
- Adding Branches: You will need to put "much more branches" to give the tree its fullness and character.
- Mixing Dark Colors: To create dark branches, mix blue and red to achieve a dark purple hue. Alternatively, you can mix umber and blue for a darker blue. The instructor notes that while black can be used, mixing colors helps in learning more about color theory.
- Applying Dark Tones: Use a bosero round brush or liner brush (or a similar small flat brush initially mentioned) to apply these dark colors to the branches. These areas should be quite dark because they will eventually be covered by leaves and their shadows, creating depth.
- Working Wet or Dry: While it's ideal to let the paint dry before adding details, the instructor often works while the paint is still wet to save time. If you choose to work wet, proceed slowly and carefully. The goal is a "beautiful tree in the form".
Step 3: Creating Ground Cover and Shadows
A realistic tree isn't just about the trunk and branches; it’s also about its interaction with the environment, especially the ground beneath it. This step focuses on adding plants, bushes, and cast shadows.

Screenshot Description: The bottom of the tree and the foreground of the painting now feature patches of varied greenery and yellowish tones. Distinct darker areas are visible directly beneath and slightly extending from the tree, representing its cast shadow.
How to Paint this Part:
- Casted Shadows: Before adding detailed ground cover, establish the cast shadows. Use your bristle flat brush and mix raw umber with some yellow. Apply this with a tapping technique directly beneath the tree to create these darker shadow areas. These parts need to be "very very dark".
- Introducing Bushes and Plants:
- Dark Green Bushes: Create a dark green by mixing yellow and blue, or use a ready "dark green" color. Apply these using the tapping technique to create the appearance of small bushes or plants.
- Lighter Green Highlights: To make these plants appear brighter, add white or more yellow to your green mixture. Apply this to specific areas of the bushes to suggest highlights.
- Yellowish Grasses: For a different type of plant, mix yellow and a little red. Then, make it lighter by adding more yellow and white to create "yellowish grasses".
- Variety and Combination: The aim is to showcase "different kinds of plants" – both yellowish and greenish – for a visually appealing and realistic combination. You might even consider adding a pathway later on.
This step adds essential context and depth to your landscape, anchoring your large tree within its environment.
Step 4: Highlighting the Tree Trunk for Dimension
Now for an exciting part: adding highlights to the tree trunk. This is crucial for making the tree look three-dimensional and realistic, showing where the light hits its surface.

Screenshot Description: The previously uniform brown trunk now exhibits striking variations. Lighter shades of yellowish-brown and hints of orange are meticulously applied along its contours, particularly on the side facing the light source. A subtle greenish hue might also begin to appear at the base.
How to Paint this Part:
- Choosing a Smaller Brush: Switch to a smaller brush, specifically the number two non-flat brush, for more control over details.
- Mixing Highlight Colors:
- Yellowish-Brown: Combine red and raw umber with yellow, then add white to achieve a "much more yellowish-brown".
- Orange Tones: Experiment with orange, red, and yellow, adding "a little blue" to slightly darken it. The instructor also mentions a "rose sha or golden yellow".
- Applying Highlights:
- "Tier Details": Apply these highlight mixtures to create layered or "tier details" on the trunk.
- Diffuse Lights: For other sides of the trunk, you can create "diffuse lights or onseim lights" using raw umber with white.
- Greenish Undertones: On the bottom part of the trunk, incorporate a more greenish hue by mixing blue and yellow and making it lighter. This adds natural variation to the tree's bark.
- Careful Application: Some parts of the trunk might still be wet, so proceed slowly and carefully when adding these highlights to prevent colors from blending unintentionally.
These highlights are essential for giving your tree trunk volume and showing the play of light on its surface, making it look incredibly lifelike.
Step 5: Detailing the Tree Trunk and Enhancing Realism
This step refines the tree trunk further, adding intricate details, textures, and subtle color variations that make it truly come alive as an "old tree".

Screenshot Description: The trunk now possesses rich texture. Fine, dark lines crisscross its surface, suggesting bark. Yellowish and orangish highlights are more pronounced and textured, emphasizing the ruggedness. On the back side, a hint of bluish-purple might be visible, suggesting bounced light, contributing to a sense of deep, aged wood.
How to Paint this Part:
- Adding Small Lines and Texture: Use a zero liner brush or round brush for these finer details. Mix raw umber with purple to create small lines that resemble a dark, almost black color, adding texture to the bark. The more time you invest in these details, the better the outcome.
- Intense Yellowish Highlights: Apply "much more yellowish highlights" using yellow, a little orange, and white. Do this "one by one" to carefully create textures on specific parts of the trunk. Remember that not all areas will be highlighted due to cast shadows.
- Lighter Greenish Touches: Incorporate "more lighter greenish light and greenish" tones to certain areas of the trunk, especially on the lighter side.
- Brownish-Orange for Aged Look: To make the tree look "alive," "like wood," and "very very old tree," apply a brownish-orange color. This adds warmth and a sense of age to the bark.
- Bouncing Light Effect: For the back part of the trunk, create a "bouncing light" effect, as if light is reflecting from a surface on the left. Mix blue and red (with more red), then add white. This might appear like a "bluish stone" effect, adding complexity and depth. Follow this with more raw umber.
This meticulous detailing step truly elevates the realism of your how to paint a big tree project, making the trunk appear weathered and multi-faceted.
Step 6: Highlighting and Texturing the Leaves
The final major step is to bring the foliage to life, adding highlights and intricate textures to create a lush, detailed canopy.

Screenshot Description: The tree's canopy is now fully formed and vibrant. Numerous small, distinct patches of light yellow-green are scattered across the foliage, mimicking sunlight hitting individual leaf clusters. Darker green areas recede into shadow, and the overall texture suggests a dense, realistic collection of leaves rather than a flat mass.
How to Paint this Part:
- Choosing a Fine Brush: For these delicate details, use a small brush, such as the number one liner brush or round brush, or even a zero zero liner brush. This allows for "tinier details of the leaves".
- Mixing Leaf Highlights: Combine yellow with yellow-green and white for the brightest highlights. Also, mix "not so much light yellow and the blue again" with "a little lighter color in the background" for varied light tones.
- Applying Highlights One by One: Apply these highlight colors meticulously, "one by one," to individual leaf clusters. It's important to note that not all areas will be hit by light, so strategically place your highlights to create natural shadows and depth.
- Filling in Darker Leaves: To add depth and fill in shadowed areas, create a dark green by adding yellow to your dark purple mixture. Apply this to fill in areas where the leaves are in shadow, further enhancing the texture.
- Creating Leaf Texture: The specific brush and "one by one" method allow you to create clear shapes and detailed textures for the leaves, making them appear distinct and realistic. This process takes time, but the detailed outcome is well worth the effort.
This final stage completes the tree, giving it a vibrant, natural appearance and making your entire painting feel finished and dynamic.
Conclusion: Your Masterpiece Awaits!
Congratulations on learning how to paint a big tree in acrylics through this step-by-step tutorial! You've learned the process from laying down the initial trunk to adding intricate leaf details, culminating in a realistic and beautiful tree.
This acrylic tutorial demonstrates that with patience and the right techniques, anyone can paint a big tree that looks impressive. As JMLisondra encourages, "do not be afraid, just try it". This lesson is suitable for both beginners and advanced artists, offering valuable insights into painting realistic landscapes.
If you enjoyed this process and wish to learn more, consider supporting John Magne Lisondra on Patreon at patreon.com/jmlisondra, where you can find more painting tutorials and support his artistic journey. Keep practicing, have fun, and let your creativity flourish!
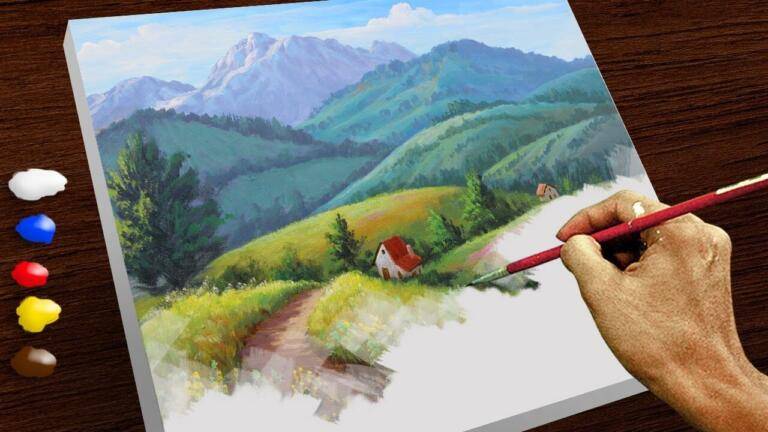
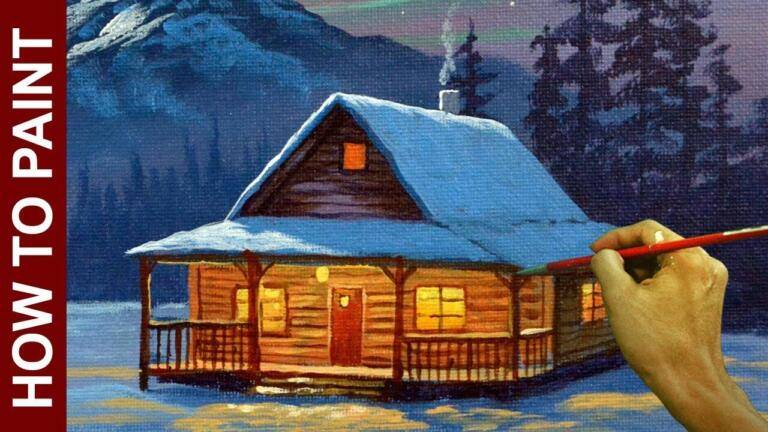
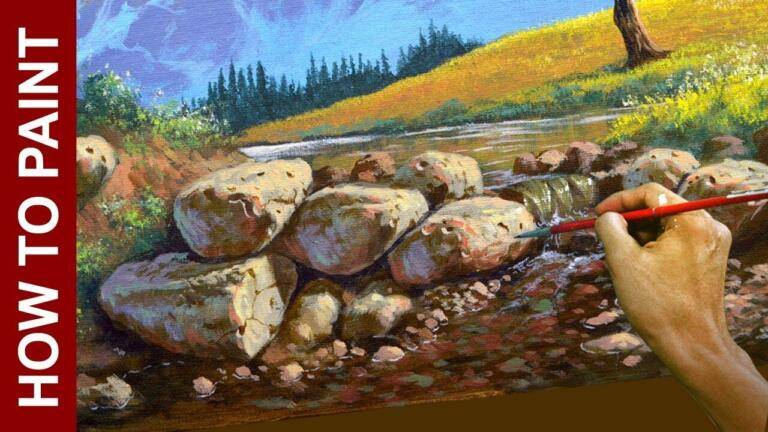
Do you want to learn more on acrylic painting? You can start with the basics, I have basic lessons for you.
Leave a Reply to @nufluffy4140 Cancel reply
12 comments on “How to Paint a Big Tree in Acrylics – Step-by-Step Tutorial”


About the Artist


FULL TUTORIAL: https://youtu.be/R3LIG0gBTwc
SUBSCRIBE: https://www.youtube.com/user/artjomalis?sub_confirmation=1
maravilloso muchas gracias por compartír
I like the patience that you have and knowing all the details of the tree I like to know are you copying from a photo to see all and so many detail of the tree or you painted many trees and remembering what trunks look like?
Beautiful
Que legal tradução em português
Queremos vê como pintar essas montanhas longe
Very nice ❤❤
❤
So beautiful
Amazing ❤Beautiful painting ❤Thanks ❤❤❤❤❤❤❤❤❤❤
😄👍👏👏👏👏👏👏
Beautiful